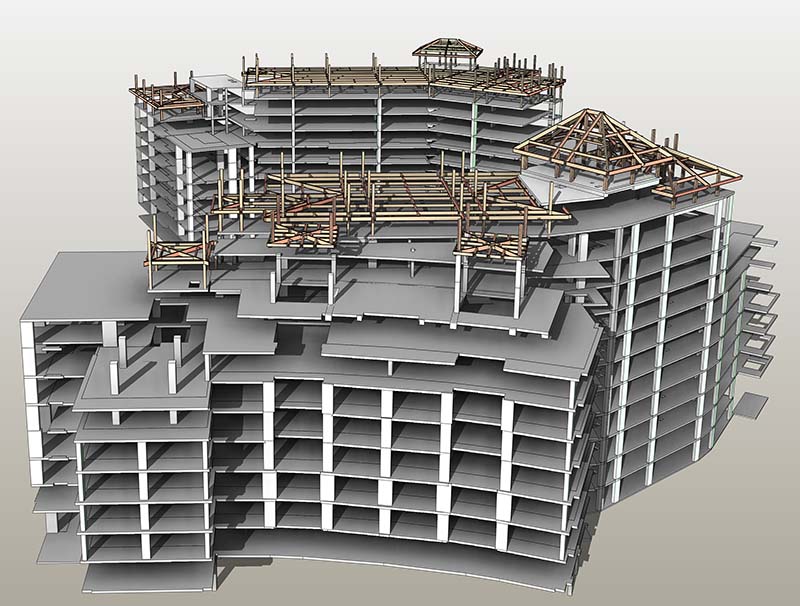
Process of creating loadable families in Revit

Instead of directly jumping into how to create loadable families in Revit, I would like to first clarify what exactly are loadable families. Well, loadable families are building elements or families such as doors, windows, and structural columns etc. which are created by AEC professionals by optimizing software such as Revit. Because of the customizable nature of loadable families, they can be modified by Revit users at any point of time as per project requirement. These families are utilized by architects and engineers while developing innovative building designs.
Revit’s Family Editor Tool is considered best by industry professionals for developing and controlling the geometry of the family.
Loadable family creation process in Revit
- The first thing that Revit users need to do while creating loadable families, they have to switch to Revit Family Editor. High-quality Loadable families can only be created by optimizing the tools of Revit Family Editor.
- The next important step is to select an appropriate family template wherein your family fits properly. Example of family templates includes wall-based, roof-based and ceiling-based etc. For example, if in case users are creating window family they should be selecting wall-based template since windows are fixed in walls only. In other words, the template provides necessary information for creating a family.
- So for creating loadable family Revit users have to open a family template in Revit family editor. For accessing family editor its users have to create a new family file.
- So after choosing the appropriate template for creating a new family file, its users have to create subcategories for the family. The purpose of creating subcategories is to control the visibility of its geometry. In other words, by creating subcategories, display of various geometric components of a family can be controlled.
- After creating subcategories, Revit users should create a framework of the family.
- For creating its framework, Revit users should first define its origin point.
- After that reference plane and reference lines should be created for the family.
- Once the reference plane and reference lines are created, Revit users should add dimensions to the family. Dimensions are added for defining parametric relationships of the family.
- Dimensions are then leveled for creating instance parameters.
- Different parameters are then specified by Revit users for defining family type variations.
- A single level of geometry is then added by Revit users in both solids and voids. The geometry is then constrained to reference planes.
- If in case Revit users want to check the right behavior of components, they can flex the model.
- After this Revit users can save the newly created family, which can be used by them in the project whenever required.
By following the above-mentioned steps Revit users can create loadable families in Revit. Check our Revit Family Creation Services for your next project