Process of inserting point cloud files into Revit
Point cloud files are indispensable for design and construction professionals when they develop 3D models for renovation and retrofit projects. The conventional manual survey method has been replaced by unconventional laser scanning process wherein as-built structure can be examined from one end to another by employing high-end laser scanners. Scan to BIM process is genuinely accountable for the simplification of the renovation process. Multiple scans collected by the laser scanning team are registered together for the availability of detailed data.
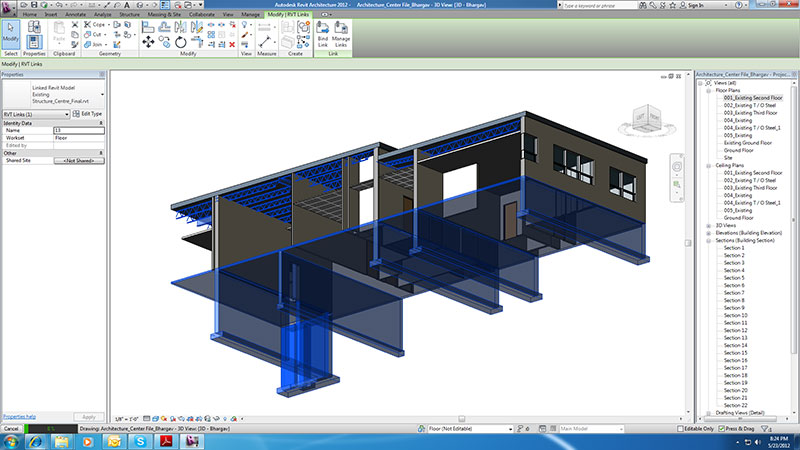
Point cloud files that incorporate entire building data are inserted in Revit so that BIM models can be developed for as-built structure.
Steps followed by AEC professionals for inserting point cloud files in Revit
- Most of the time’s laser scanned data is obtained by engineering firms in a raw format.
- So the point cloud files that are in raw format must be converted into meaningful file formats that can be read by Revit.
- This process of converting raw data into a relevant file format is called as indexing.
- So point cloud data must be indexed by design and construction professionals before it is utilized in the project.
- When a raw point cloud file is indexed by Revit users it is converted into .rcp format files and .rcs format files.
- In an .rcp format file numerous .rcs files are incorporated.
- So for inserting point cloud in Revit, users must go to ‘Insert tab’ then click on to ‘Link panel’ and finally select Point cloud.
- After that users must specify the files that they want to link in the project.
- For doing so they must navigate the folder wherein files are located.
- Depending upon their project requirement they must select either an .rcp format file or .rcs format file.
- Once the file is selected by them they should specify a name for it.
- After that for positioning the file in the project Revit users must select one of the option from Auto – Center to Center, Auto – Origin to Origin, Auto – By Shared Coordinates and Auto – Origin to Last Placed.
- Once a right option is chosen for file positioning the point cloud file can be successfully inserted in Revit project.