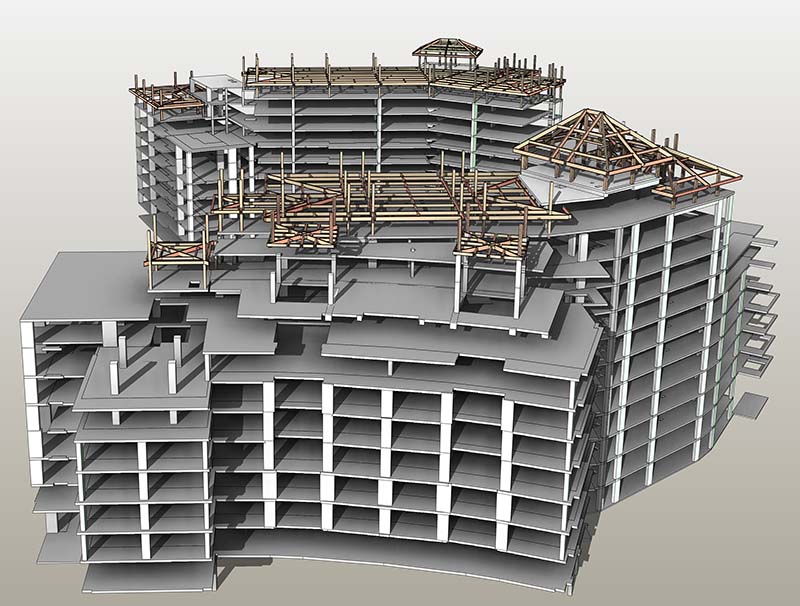
A comprehensive account of interference checking in Revit

‘Interference checking’ as the phrase suggest is the process of identifying or determining conflicts and design congestion between elements within a host model or between the selected elements of a linked model and a host model. Revit building design software is a boon to design and construction professionals as it provides effective platform for design coordination as well as interference checking. Revit’s interference checking tool is quintessential when it comes to avoiding major conflicts between elements of different building trades in the later stages of construction.
Identification of design congestions and conflicts during the design phase itself assists in avoiding expensive rework during final construction and Revit steals the show in this case.
A brief account of the Interference checking process
- For checking interference between elements users are first requested to select elements from the view on which they want to run interference check.
- For opening ‘Interference Check dialog’ within Revit users are first requested to approach ‘Collaborate tab.’ After this they are requested to go to ‘Coordinate panel’ then to ‘Interference Check drop down’ after which they should finally select ‘Run interference Check’
- Once ‘Run Interference check’ option is selected by them this helps in opening the Interference Check dialog.
- Now if users have selected elements from a view then the dialog will display only selected element categories.
- However, if none of the elements are selected by Revit users then the dialog automatically displays all the element categories of the current project.
- Now users are requested to select a value from drop down from first categories. All this is done on the left side of the dialog. For example if Revit users have selected a linked model for conducting interference check, its name must be selected by users from this option. The name of the model must be selected from categories.
- Once name is selected, element categories are listed in the linked model.
- After his select required categories such as roofs. Now a value must be selected on the right side of the dialog from second categories. So users should select required categories such as floors.
- Once categories are selected on both left and right side of the dialog users should click ‘Ok’ to run the interference check.
- If no interferences are detected, the dialog informs the users about the same, on the other hand if conflicts are identified the Interference Report dialog reflects in front of users.